
Today I'm giving you another post that includes a mini tutorial. I kind of enjoy making those....more than a big twenty photos full garment type of tutorial at least.
So when I'm sewing a little detail that I think you might be interested in, I simply snap a few photos with my phone which I usually have at hand and get the best out of it.

This is the Everyday Blouse by House of Pinheiro/UpCraft Club. And the mini tutorial is for a side slit hem.
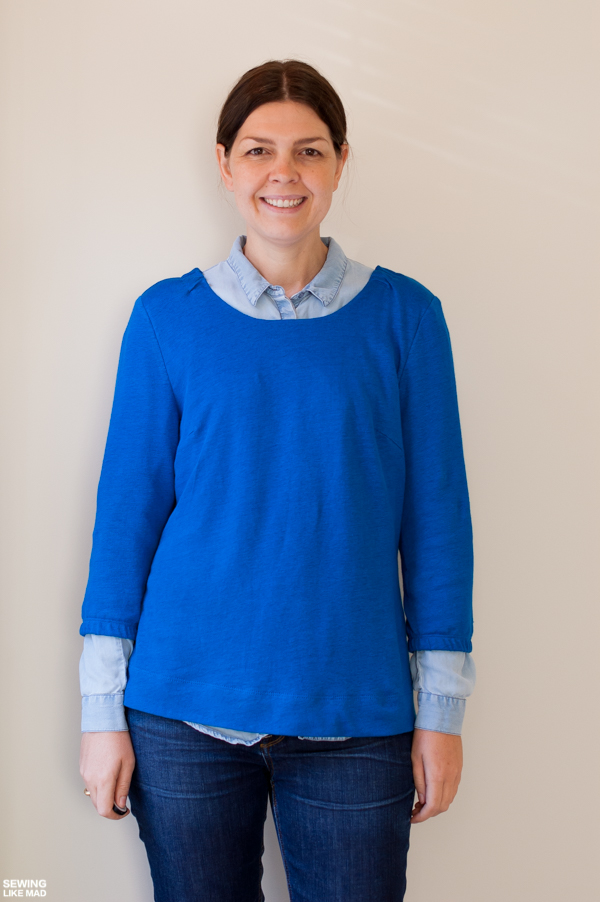
You know I have an obsession for making sewing patterns made for woven fabrics in knit. First of all I love wearing knit but I also love seeing how the garments transform when made in a different material. It instantly becomes more relaxed. And now that I also have an obsession with oversized styles, the extra room the knit usually adds is really just a bonus.
Of course you have to adjust your chosen sewing techniques when changing fabrics but if you go with a stable knit you can almost use the same ones. This is a thin-ish cotton sweater knit and I sewed it on my sewing machine and then finished the seams with my serger. Just like I would have done if I was sewing with woven fabric.

But let's get back to the pattern. It is designed by Rachel from House of Pinheiro, a Brasilian born beauty that now lives in London. She teamed up with UpCraft Club and they created the pattern for her in their custom pattern department. How clever is that?!
They have Gabriela (from Chalk and Notch) working for them, so you know we will be in good hands! Read a bit more about their process making this pattern HERE.
The pattern is great and simple. And I don't mean simple in a bad way at all. You have everything you need. But there are no variations etc. Again, it's all good!

But just because the pattern doesn't come with variations (and again, that is not a complaint!), it does not mean that you can't make your own variations.
The first variation I made was to add elastic to the hem of the sleeves. Considering the fun elastic neckline/shoulder detail, this was absolutely obvious to do for me. The sleeve is fairly narrow though, so you will need to add a tiny bit of width to the lower part of the sleeve or you won't have anything to gather haha. I'm talking from experience from my first version.
Second I skipped the side zipper and instead made this mini side slit hem. And below you will see a little tutorial for how to do that too...to any garment of course.
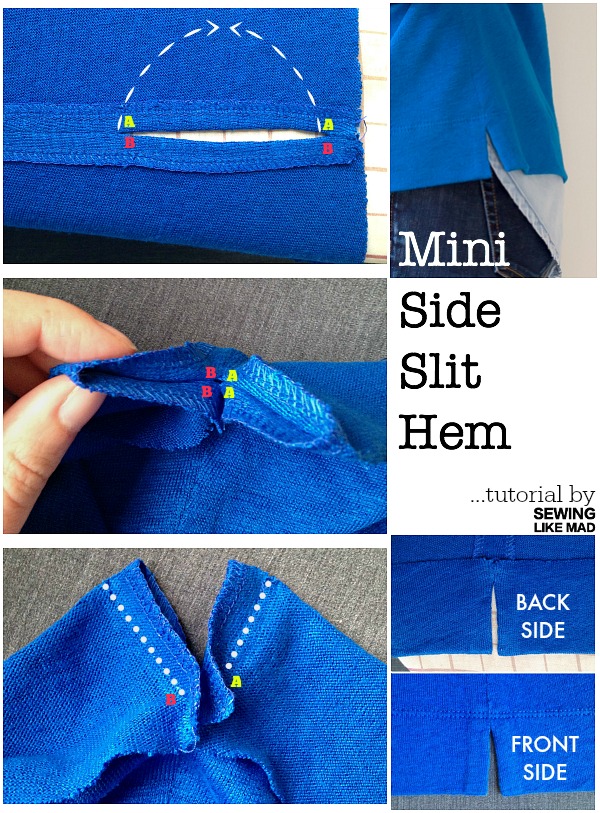
Top left: First you need to determine two things. One is the finished length of your top and second the length of your side seam slit. Then add the length of your slit plus your preferred seam allowance (SA - here 1 cm/ 3/8") to the finished length of the top. Then you sew your side seam but keep a hole open equivalent to 2 x your slit opening BUT you will sew your SA together. So in this case I wanted my slit to be 4 cm finished length, so my opening is 8 cm but I'm ending 9 cm from the bottom because I need to close up that 1 cm SA at the bottom. Press/split the seam before moving on.
Middle left: Then you fold up your opening (I think the photos will tell you what I mean, better than words). Make sure your stitches (the top and bottom of the 8 cm slit opening) meet up exactly. A pin will help you keep it in place when moving to the next step. See below.
Bottom left: Now sew from what is now the bottom/hem of your blouse to the bottom of your slit on both sides of the slit.
Fold out and press (not pictured). Make sure to get nice corners and that your slit sides are of equal length...unless you are making a high low hem of course hehe.
And yours should now look the same as the two bottom right photos up there. All you need now is to hem your blouse. I used my coverstitch. A twin needle will work too.
This technique will also totally work on a woven. In fact this is probably best for woven or stable knits. If you are sewing in very stretchy materials and therefore prefer sewing the seams with a serger, THIS tutorial made by Grainline Studio is for you. I chuckled when I saw it being posted the other day because I was literally working on this one at the same time. Oh well, there can never be too many tutorials and the more we know, the better we can determine which one is the right one to use on specific projects.

And there you go...a mini side slit hem. Hoorah!
I did one more change to the pattern. Partly because of the knit and partly because I'm so flat chested. I moved up the bust dart 2 cm. You literally just move the existing lines with a ruler. Normally you don't need darts in a knit garments but since this is made for woven, they were there on the pattern and I didn't bother to remove them because that is a bit of a bigger operation than just sewing them.
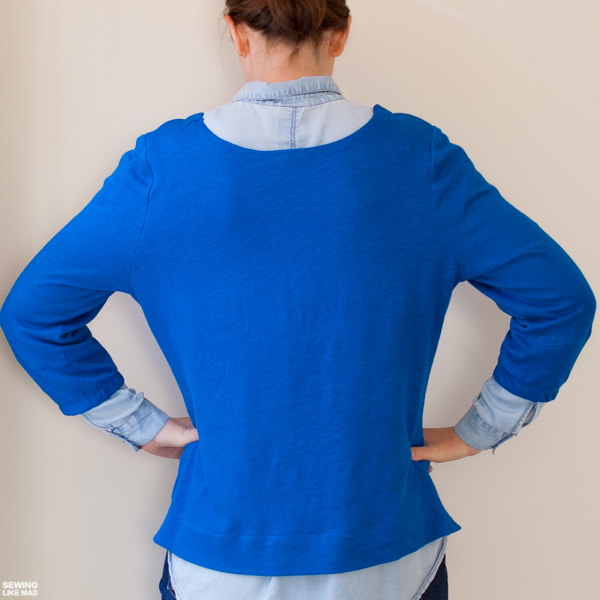
A quick look from the back and I think I'm through all that I wanted to say and show you.
Get your own Everyday Blouse HERE.
Thank you!
Love this blue! Must be so comfy!I have so much difficulty to sew well knit(stretchy) fabric that I love seeing tutorials to
ReplyDeleteminimize my fears! :)
love the blue ;-) and great tutorial, I had seen the one from Grainline but I think that's just the thing, the more ways you learn to do something the better you will do it...
ReplyDeleteI love it in knit!!! And this tutorial is awesome! I have been waiting for something like this because there is no way I could have figured it out myself. Thank you for doing it, Mie!
ReplyDeleteYou look beautiful and this is a great tutorial!
ReplyDeleteMy mind is blown by that mini tutorial! I never thought it could be made like that! Boom! Yes, thank you! Love this version, that blue looks so good on you. <3
ReplyDelete